Category filter
How to add custom boot and shutdown animations for Samsung Knox devices?
The default boot-up and shutdown animation in an Android device is usually the device manufacturer logo. Hexnode lets you personalize these animations with your enterprises’ custom animations and sounds. On a Samsung Knox 2.5+ device, you can brand the boot-up, boot-loop, and shutdown animations using Hexnode UEM.
To customize boot/shutdown animation
- On your Hexnode MDM portal, go to Policies.
- Click on New Policy > New Blank Policy if you want to create a new policy or, you can edit an already existing policy.
- Add a Policy Name and Description (optional).
- Go to Android > Configurations > Boot/Shutdown Animation.
- Click on Configure.
- Configure the customizations that you require. The available options are:
- Boot-up animation: Upload the custom animation that you want to display during the device boot-up. Only QMG file format is supported for animations.
- Boot-loop animation: Upload a QMG animation file that has to be displayed during the device boot-loop.
- Boot-up animation sound: Upload a .ogg audio file. This music file will be played during boot-up.
- Delay in boot-up animation sound: Set the number of milliseconds to delay playing the boot-up animation sound. You can choose a value between 0 and 2147483646.
- Shutdown animation: Upload a QMG animation file to be displayed during the device shutdown.
- Shutdown animation sound: Upload an Ogg audio file that has to be played during the device shutdown.
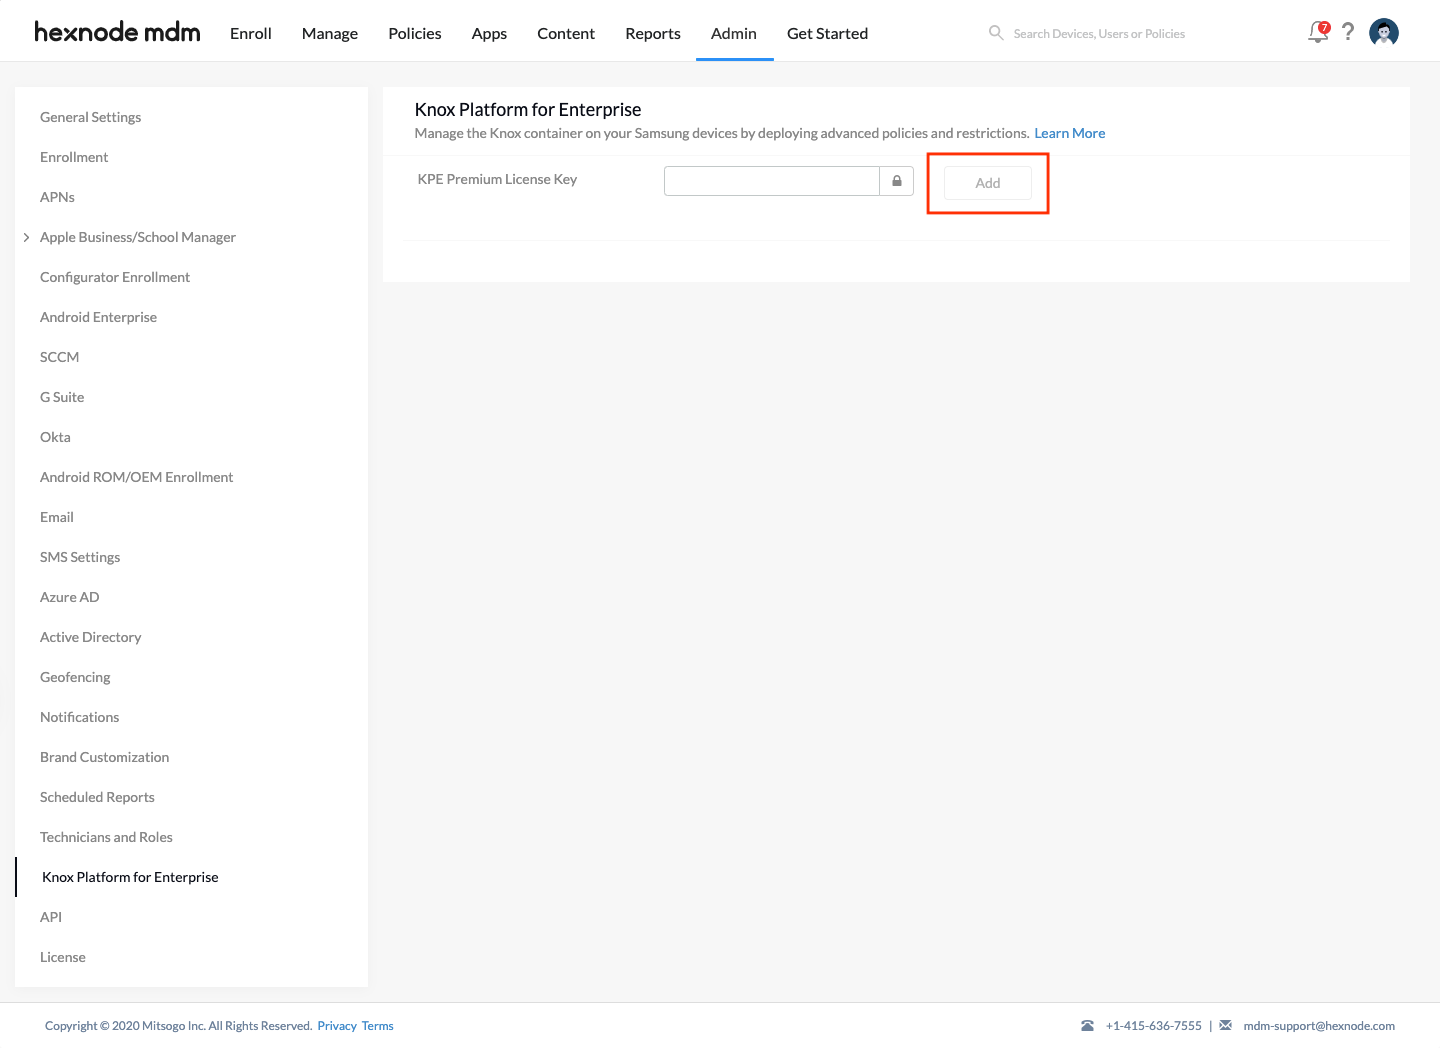
- Next, head on to General Settings > Knox Platform for Enterprise > Configure. Select the KPE Premium license key from the list of keys already added to the portal from the Admin tab. (Skip this step if the key is already associated with the device)
- Click on Save.
Associate Policies with Devices / Groups
If you have already saved the policy
- On the Policies tab, select the desired policy.
- Click on Manage > Associate Targets.
- From Devices/Users/User Groups/Device Groups/Domains, select the targets to which you want to attach the policy.
- Click on Associate.
If you haven’t saved the policy
- After you have completed configuring the policy, go to Policy Targets.
- From Devices/Users/User Groups/Device Groups/Domains, select the targets to which you want to attach the policy.
- Click on Save.
Need more help?


