Category filter
Executing custom scripts for Windows
Organizations may sometimes seek the assistance of script commands to execute specific routine and time-consuming operations on the Windows machine that are not natively supported by the MDM platform. A script is a series of commands written in a scripting language that details the operations you want to perform on the machine and automatically execute it on the devices without any manual intervention. These tasks otherwise have to be manually administrated one by one on each device.
For executing custom scripts on Windows machines, create script files with custom configurations that suit your demands and upload the file to Hexnode. Then push the script file to the target devices. However, it is recommended to manually validate the script execution on a single device before associating it with bulk devices. This helps to analyze and remediate the associated issues without heavily impacting business continuity or productivity.
Create and Run scripts
Hexnode supports .ps1, .bat and .cmd script files. The PowerShell scripts (.ps1) and batch files (.bat or .cmd) can be created via different code editor tools. However, the easiest way of creating a script file is by using a Notepad editor. Let’s look into how PowerShell and batch script files can be created and executed using Notepad on a Windows machine.
- On your Windows 10 PC, open the Notepad app.
- Enter the commands required for your script in the text file. An example of a PowerShell script and a batch script is as follows.
PowerShell script:
New-Item -Path 'D:\temp\Hexnode Folder' -ItemType DirectoryThis is a script file for creating a new folder called “Hexnode Folder” in the location D:\temp on the device.
Batch script:
@echo offecho "Hello">C:\Hexnode.txtThis script will create a new text file named Hexnode in the C-Drive on the device.
- Save the file with the extension “.ps1” – for PowerShell scripts. Use the extensions “.cmd” or “.bat” for batch scripts.
- Open the command prompt and enter the full path of the script in the format c:/scripts/scriptname.ps1. Press the Enter button to run the operation.
To run the script,
Running the script on selected devices manually before bulk deployment enables pre-emptively identifying and removing errors before causing severe business continuity issues.
Upload Script to Hexnode
The scripts are used to proactively set up configurations or execute operations on the devices. For deploying these script files to the devices via Hexnode, they have to be first uploaded in the MDM console.
To upload script file in Hexnode,
- On your Hexnode MDM console, navigate to Content.
- Choose My Files and click on Add.
- Enter an appropriate file name and upload the script file.
- Save the file in Hexnode.
Execute Custom Scripts
Once the script is created and uploaded, it can be pushed remotely to deployed devices via Hexnode.
To execute a custom script on Windows,
- On your Hexnode portal, navigate to Manage > Devices.
- Select the Windows PC’s or tablets to which the script is to be deployed.
- Click Actions > Execute Custom Script.
- Choose the platform as Windows.
- Choose the script file source as either Upload file or Hexnode repository.
- If Upload file is chosen, click on Choose file… corresponding to the Upload File field. Choose a script file that resides on your machine.
- If Hexnode repository is selected, you will be asked to select the previously uploaded script file in the Content tab in Hexnode.
- The Script name filed will be auto-populated with the name of the script file.
- Enter the Arguments for the chosen script file. Arguments are the variable provided in the command line while executing a script. Such arguments can be remotely deployed to the device via the MDM. Add spaces between arguments if you are entering more than one argument to a single script file.
- Provide a time duration in the Timeout field. If the script execution does not finish within the specified period, it will be forcefully terminated. The minimum time duration is 15 minutes. However, it is recommended that the default value of 30 minutes be left unchanged.
- Click on Execute.
Navigate to the Action History tab of the device to view the script execution status. The Hexnode administrators can check the output of the pushed script file on the device (only if the script file returns an output) by navigating to Manage > Device > the device to which the action is pushed > Action History. Click on Show Output corresponding to the script execution action to view its output.
If the action is successful and the configurations of the script file is correct, then the script will get automatically executed on the device.
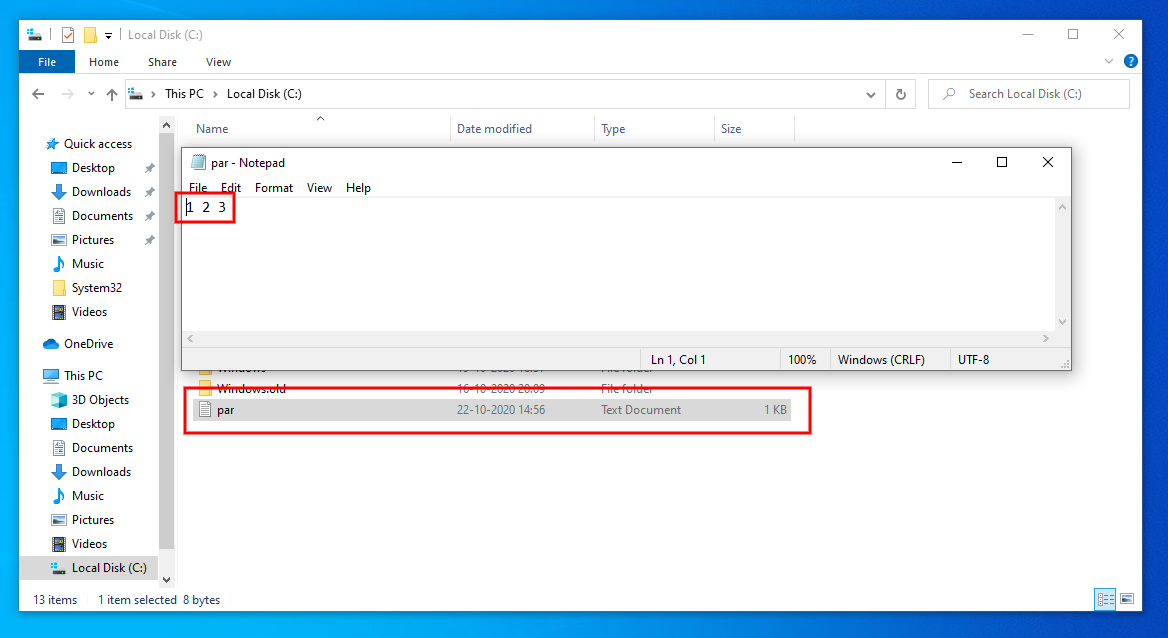
The uploaded script file was for creating a new document named “par” in the C-Drive of the device with content 1, 2 and 3, the parameters passed through Hexnode.