Category filter
iOS Supervised Mode
What is Supervision?
Supervision is a procedure designed for institutionally-owned iOS devices. A supervised Apple device lets you have more control over it. You can set additional restrictions, automate actions and more.
By default, all iOS devices are not supervised. Devices can be set up as supervised only prior to activation, that is, before the Set-up Assistant first appears on the device, a brand-new device or fully erased one.
Why do you need to Supervise your iOS devices?
Supervision unlocks the extra features intended for corporate-owned devices. If you want the apps you provision for the devices to install silently, you need to supervise the device.
If you want to blacklist applications, set a global proxy, lock device in single-app mode, force web content filtering or set wallpapers, you need supervision.
Ok, so, how do you supervise a device?
iOS devices can be supervised by using
- Apple Configurator
- Device Enrollment Program (DEP)
Or
Supervision using Apple Configurator involves hooking up the devices to a Mac whereas Supervision via DEP is entirely over-the-air. Then again, using Apple Configurator is quite handy but the DEP registration and approval may take around 5-10 business days.
Supervising using Apple Configurator 2
Download and install the app Apple Configurator 2 from the Mac App Store. You will require a Mac with OS X 10.6.6 or later. The iOS device should have OS version 6 or above to supervise using Apple Configurator 2. Once these pre-requisites are met, follow the steps to supervise your device.
Step 1: Create a Wi-Fi profile
- Open Apple Configurator 2.
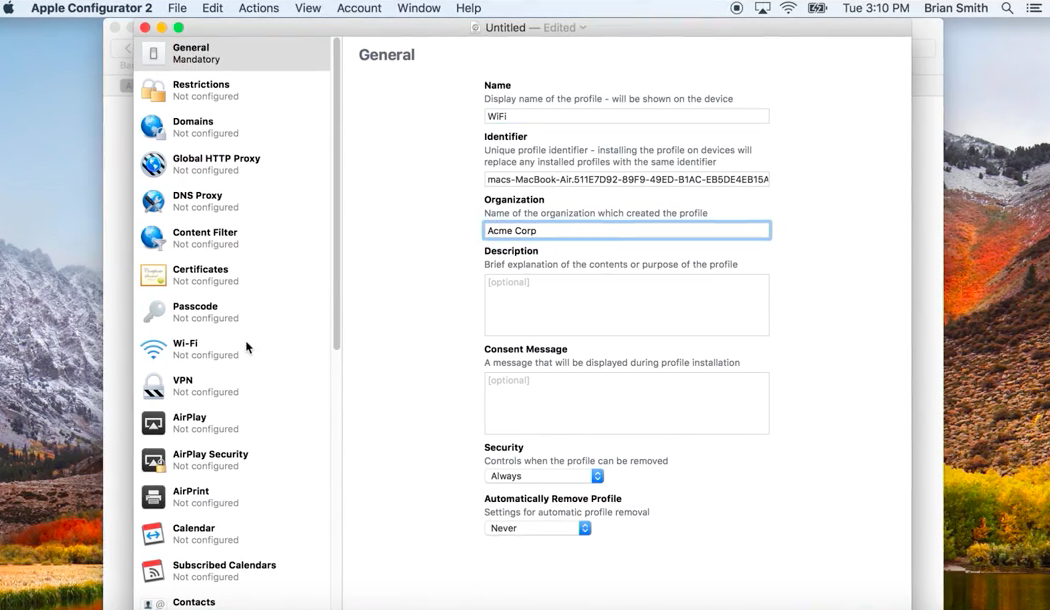
- Click on File > New Profile.
- Give a name to the profile. All other fields are optional.
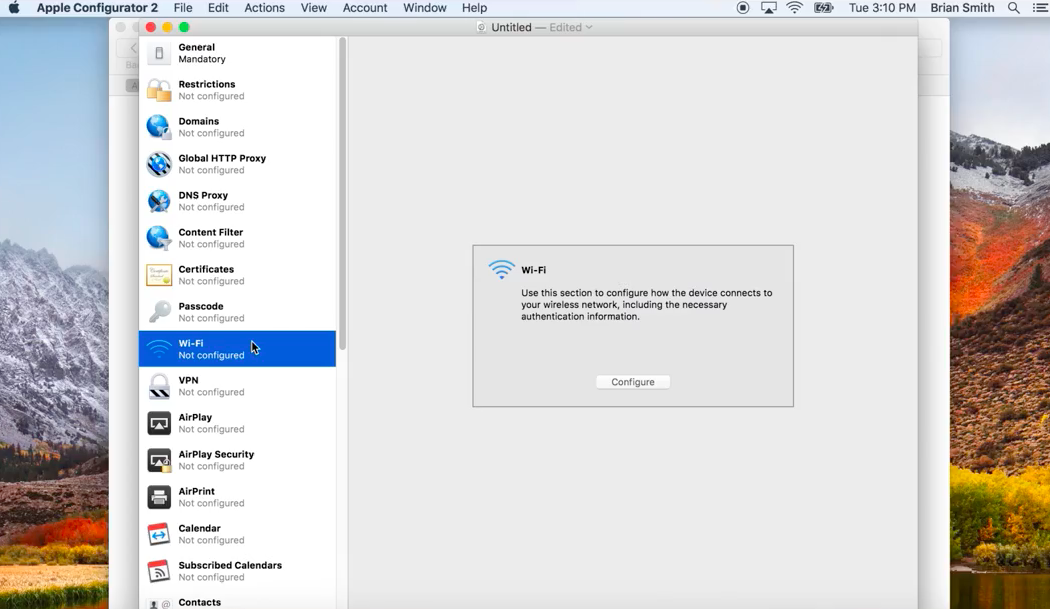
- Select Wi-Fi from the left menu and click Configure.
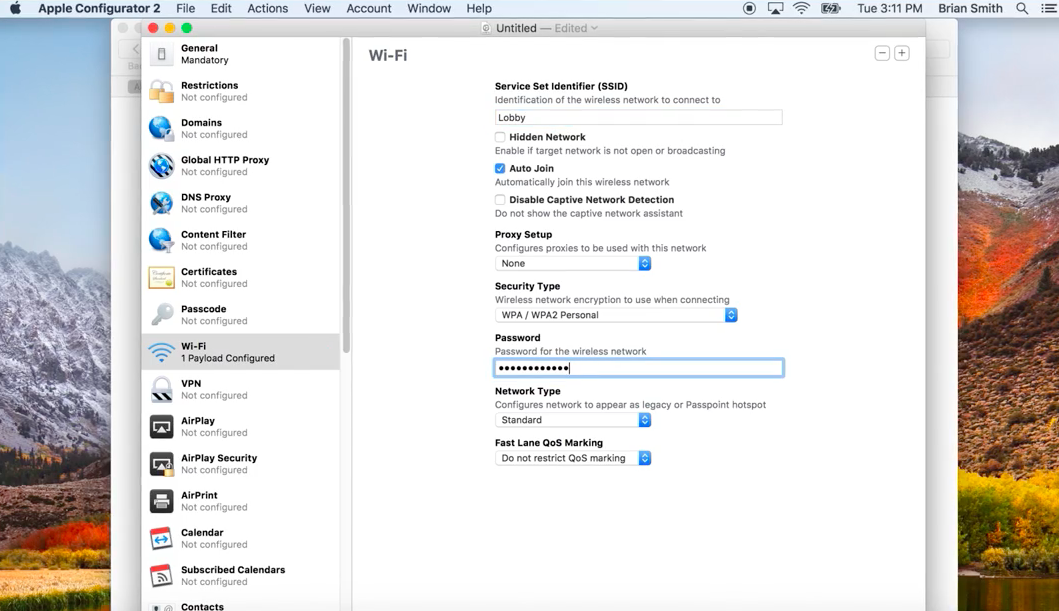
- Give the name of the Wi-Fi network at Service Set Identifier (SSID)
- Select Auto join.
- Configure the Proxy Setup and select the Security Type.
- Provide the Wi-Fi password.
- Select Network Type as Standard.
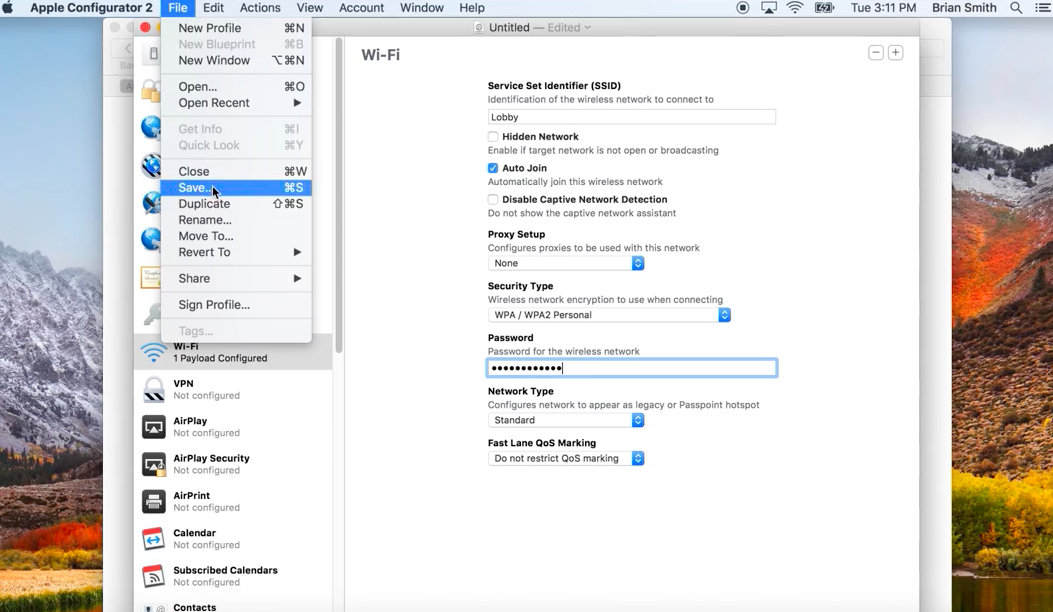
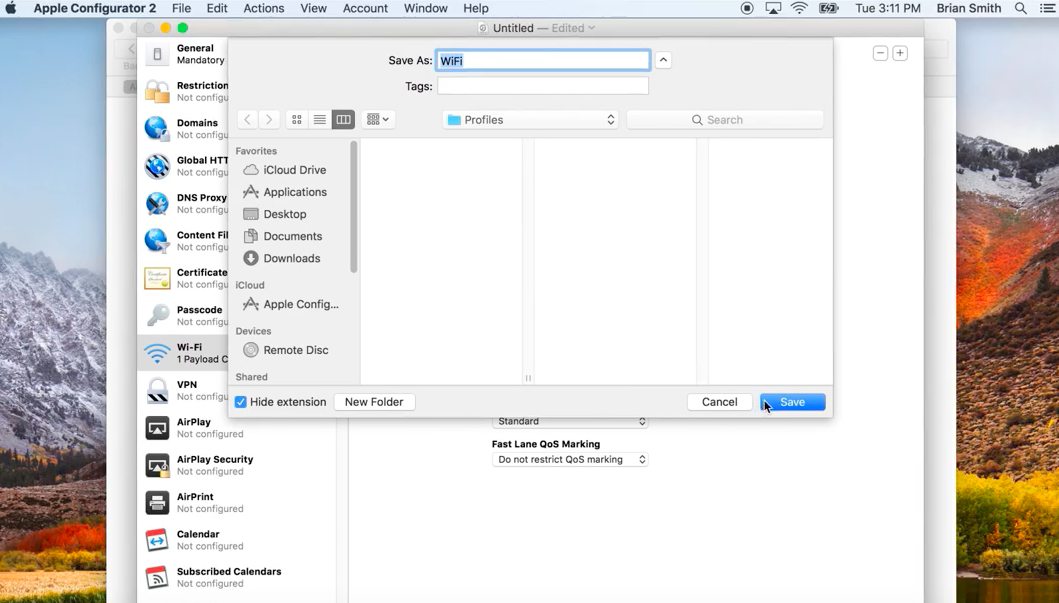
- Click on File and Save the profile.

Select the Security type as “With Authorization” and provide a password. Set Automatically Remove Profile as “Never”.
Step 2: Create Blueprint and add Wi-Fi profile
- On the Apple Configurator window, click on File > New Blueprint.

- Name the Blueprint.
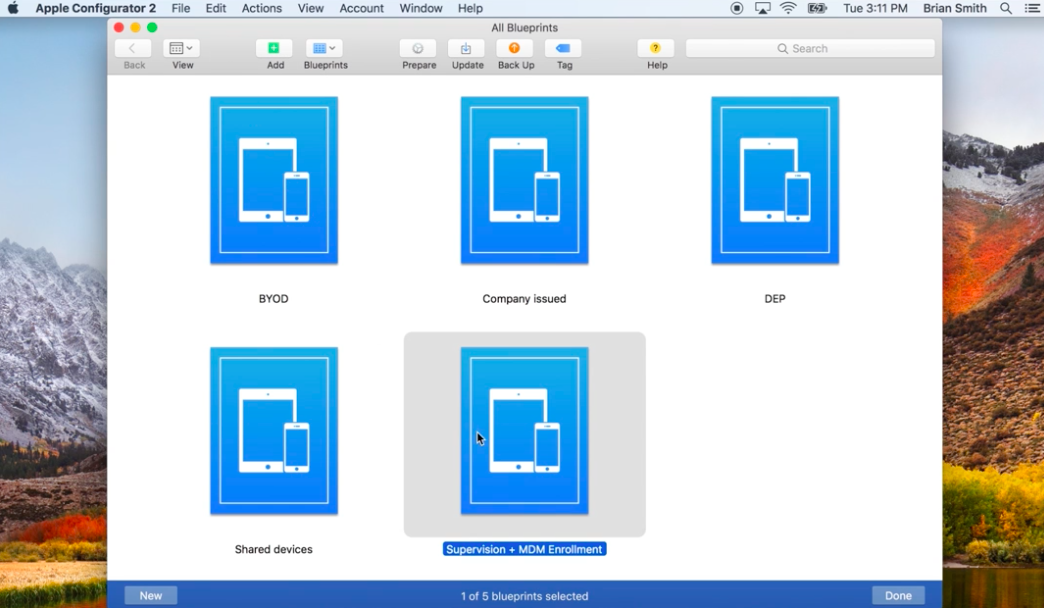
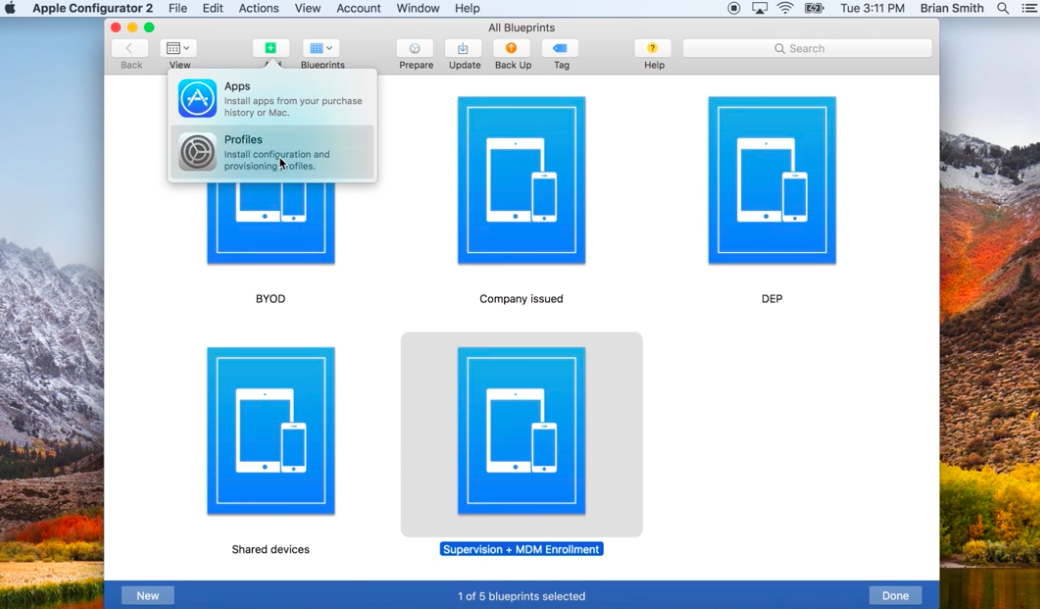
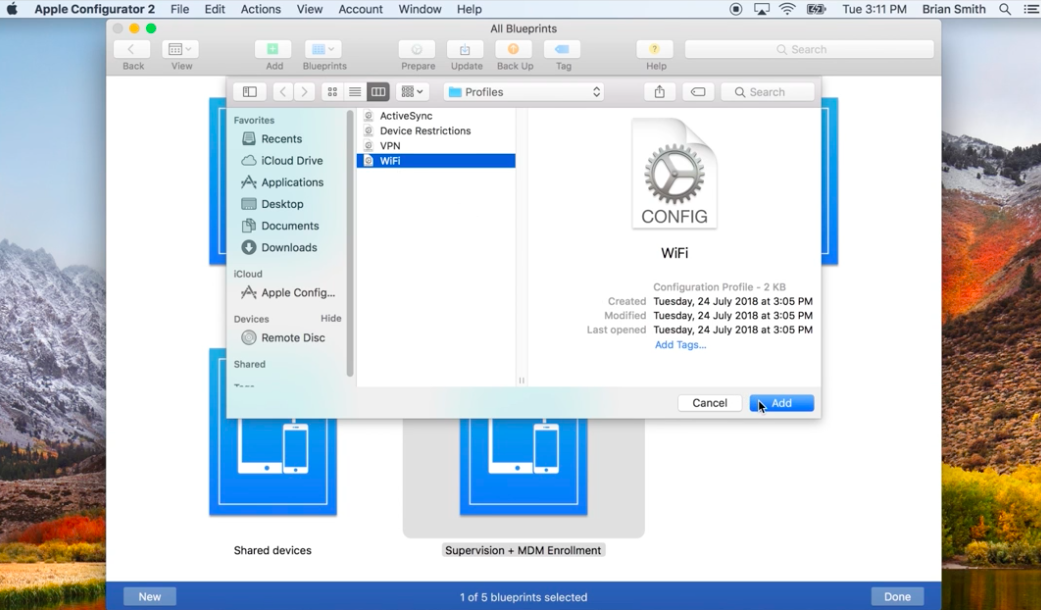
- Select the created Blueprint, click on Add > Profiles and select the Wi-Fi profile you created earlier and click Add.
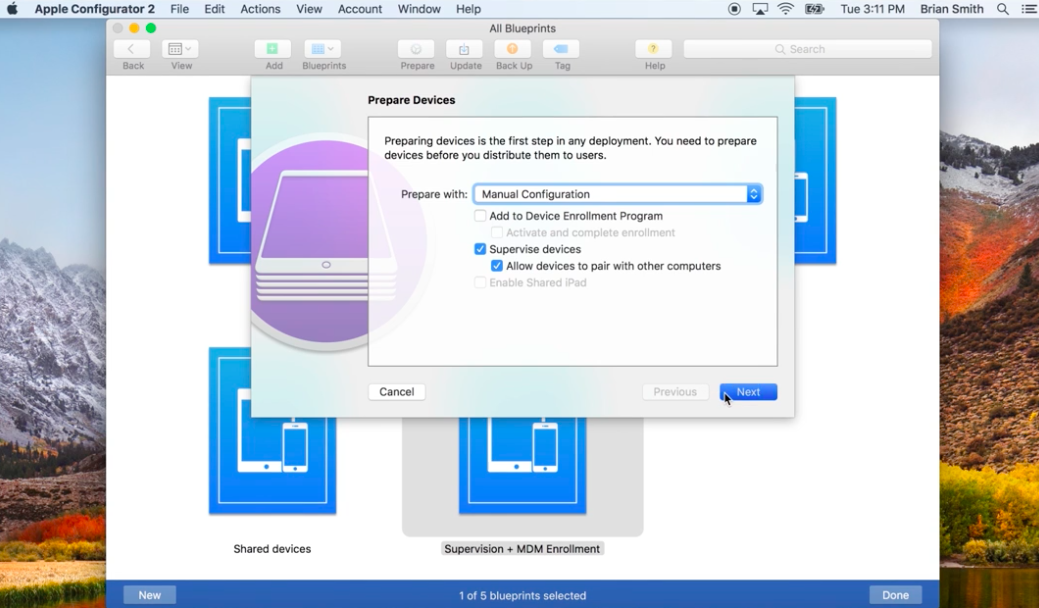
Step 3: Prepare the device
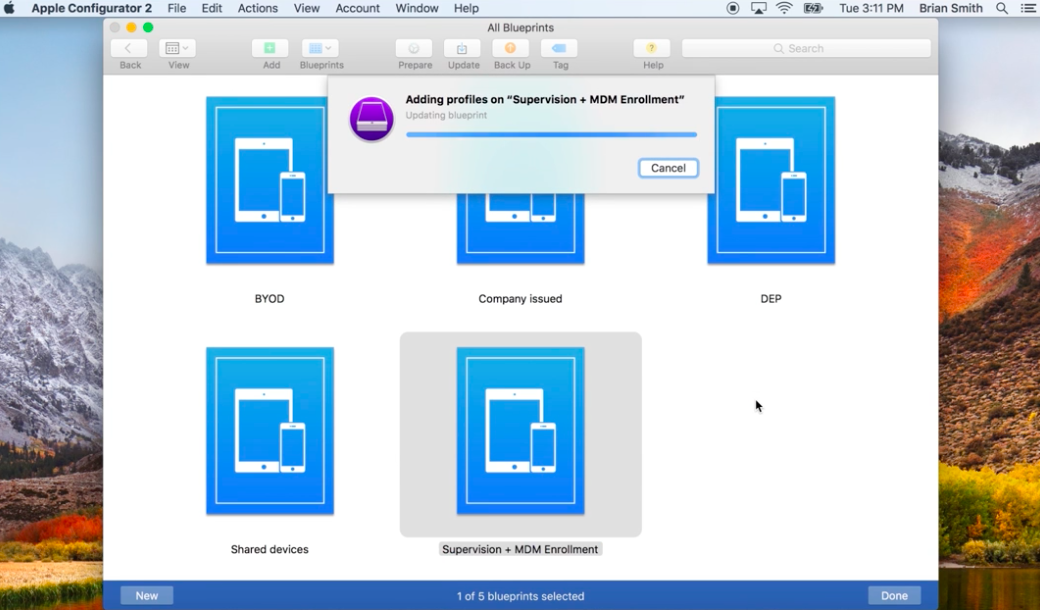
- Select the Blueprint and click Prepare.
- Select the Configuration type as Manual and click Next.
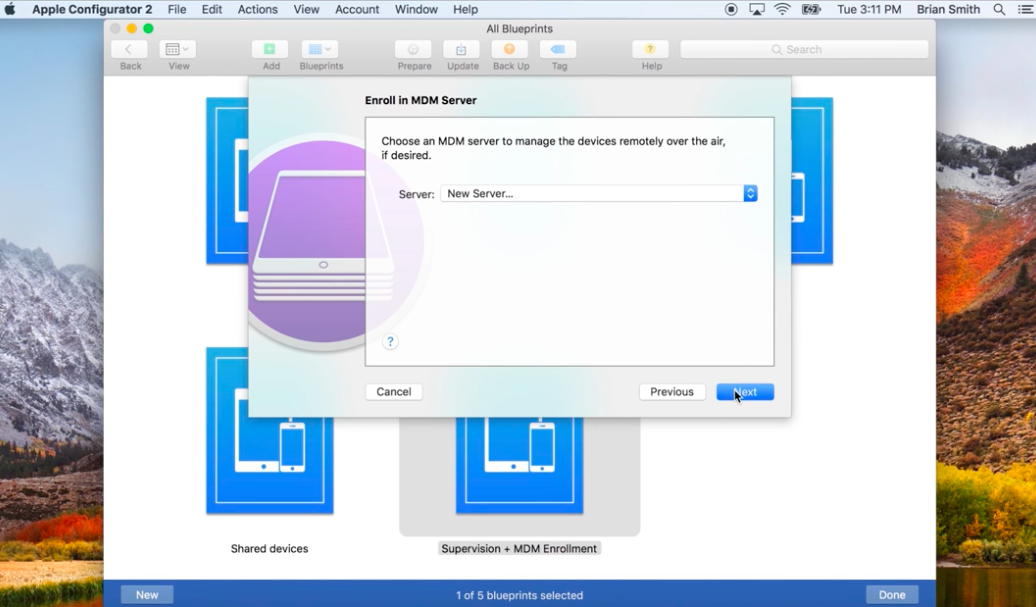
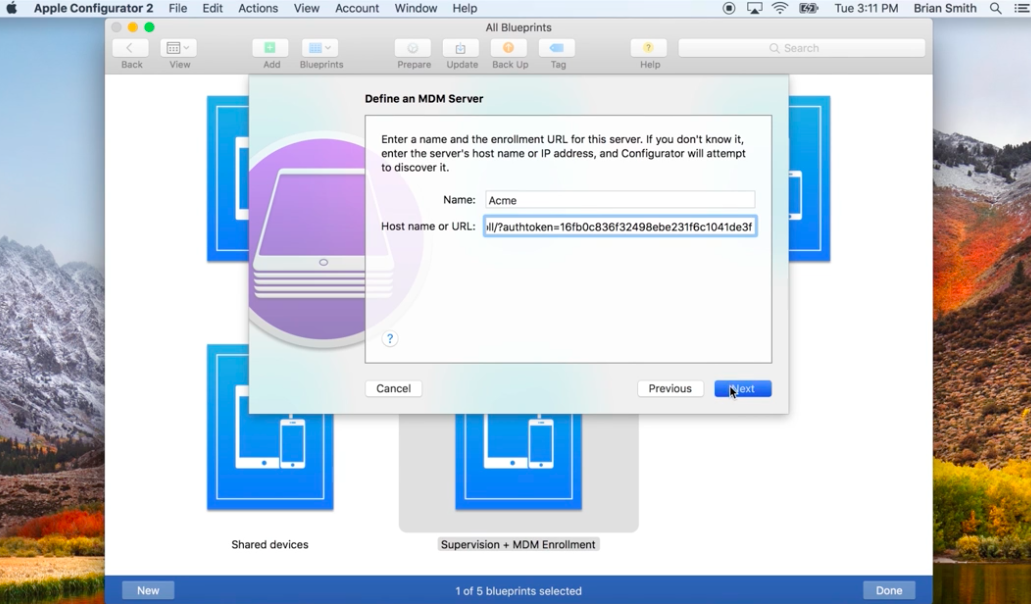
- To enroll in Hexnode UEM from the Apple Configurator, select New server and click Next.
- Enter the server name and server URL.
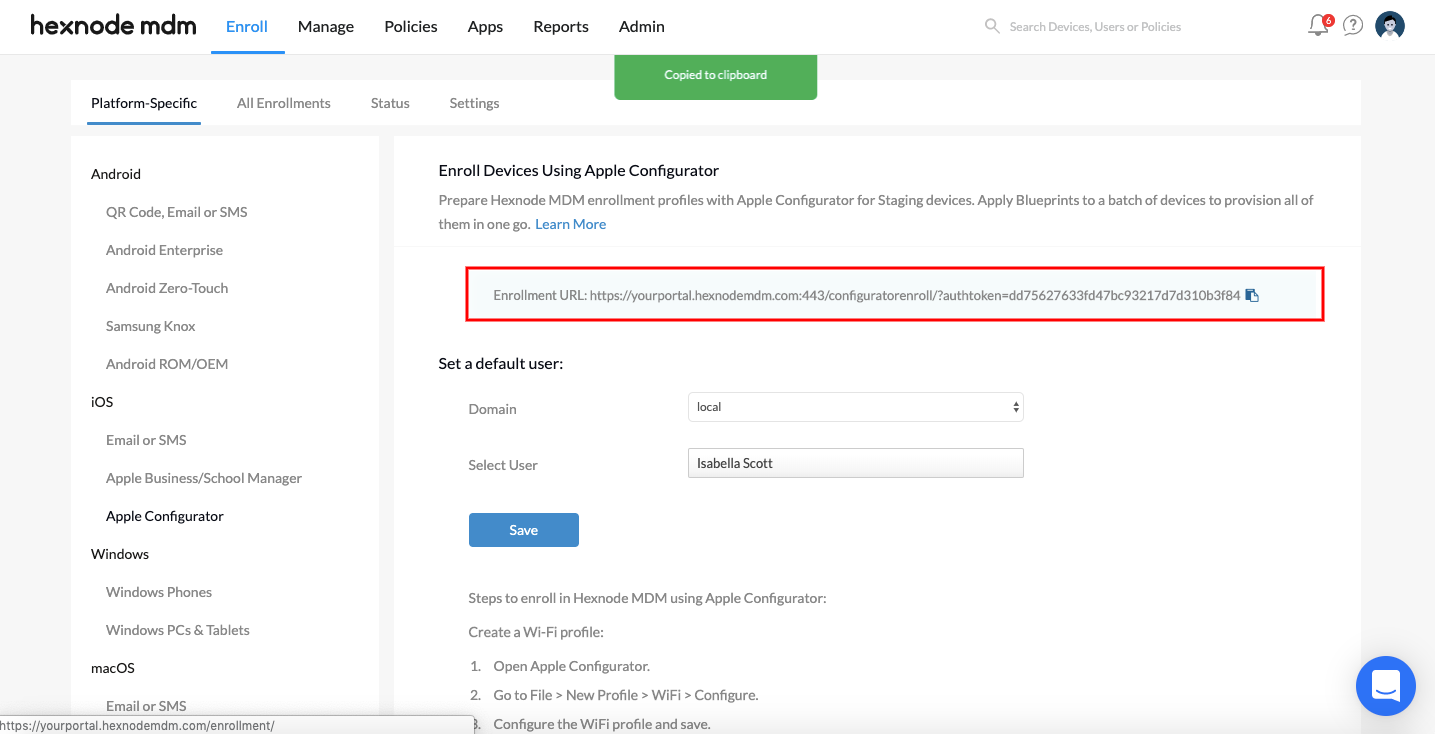
- Server URL can be obtained from Enroll > Platform-Specific > iOS > Apple Configurator. Set a default user to activate the enrollment URL and copy it.
- Provide the URL and click Next.
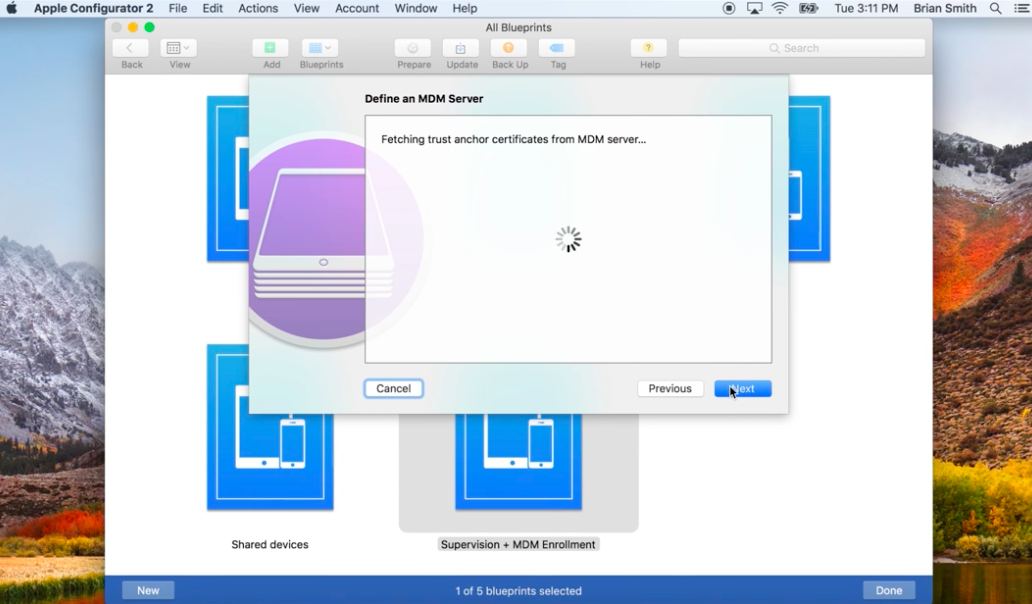
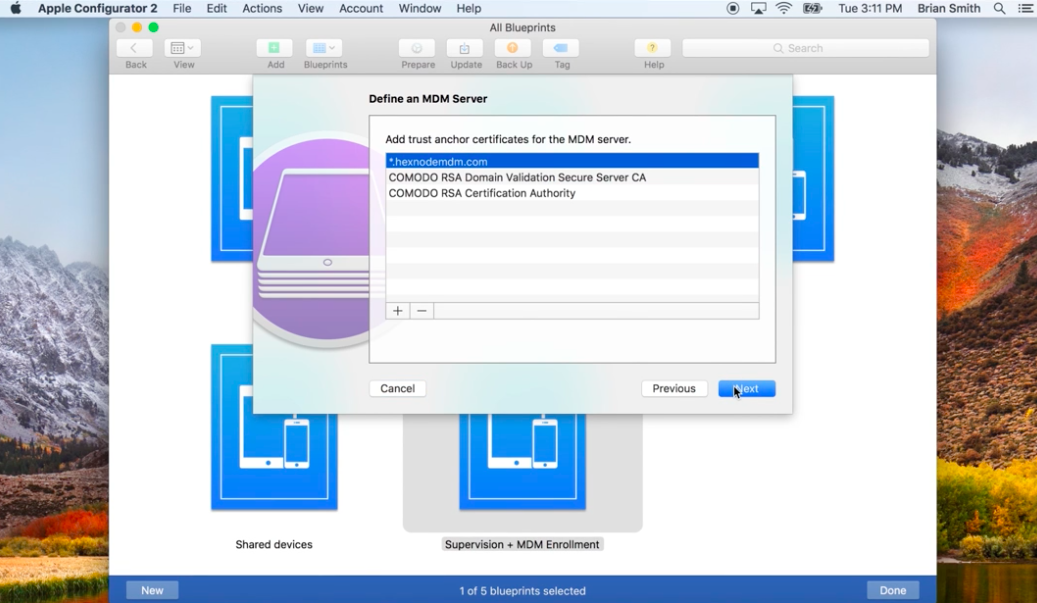
- The required Anchor certificates will be automatically added. Click Next.
- Create an organization by providing your organizational details and click Next.
- Select Generate a new supervision identity and click Next.
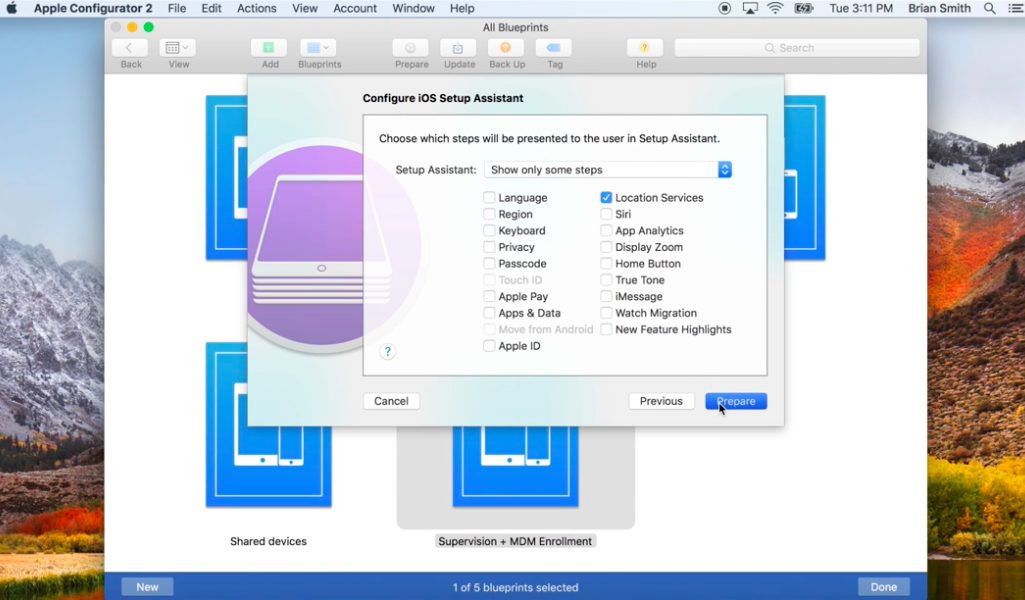
- Select the iOS Setup Assistant steps that you want to show up in the device and click Prepare.


The next step is to establish a connection between your unsupervised iOS device and Mac with a USB. After connecting, you can see your device in the Apple Configurator window.
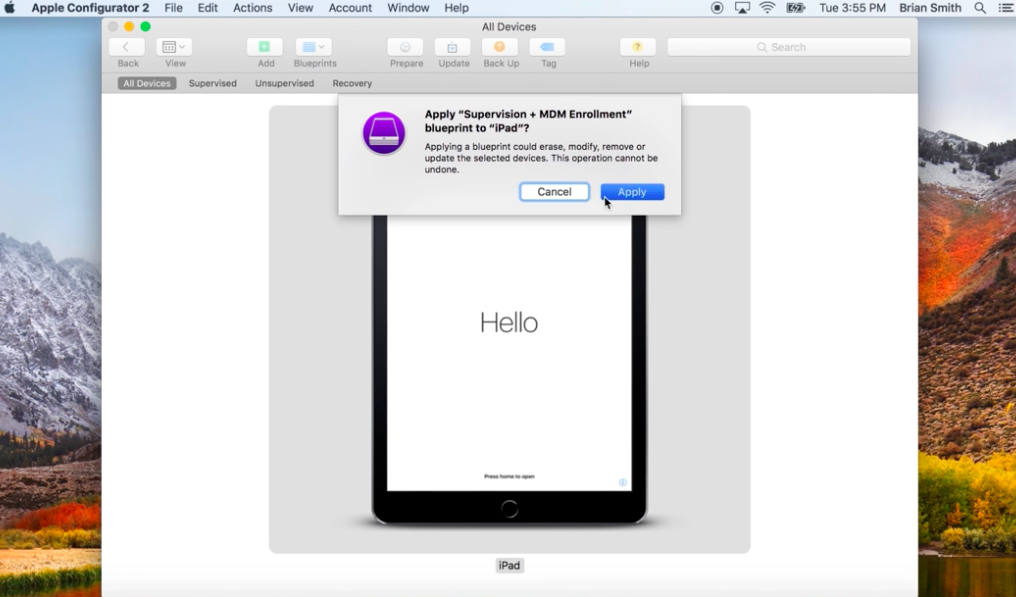
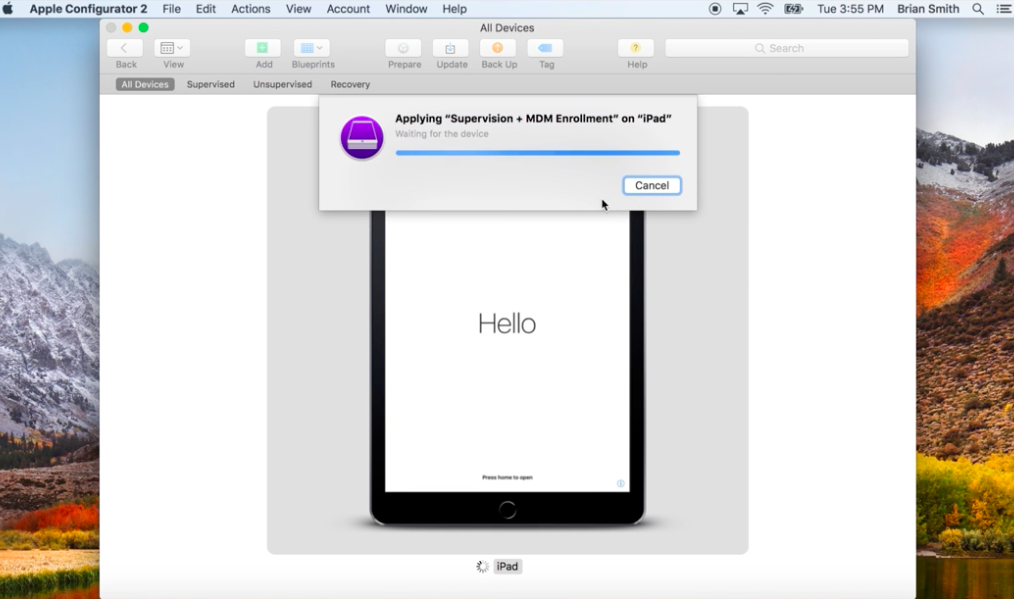
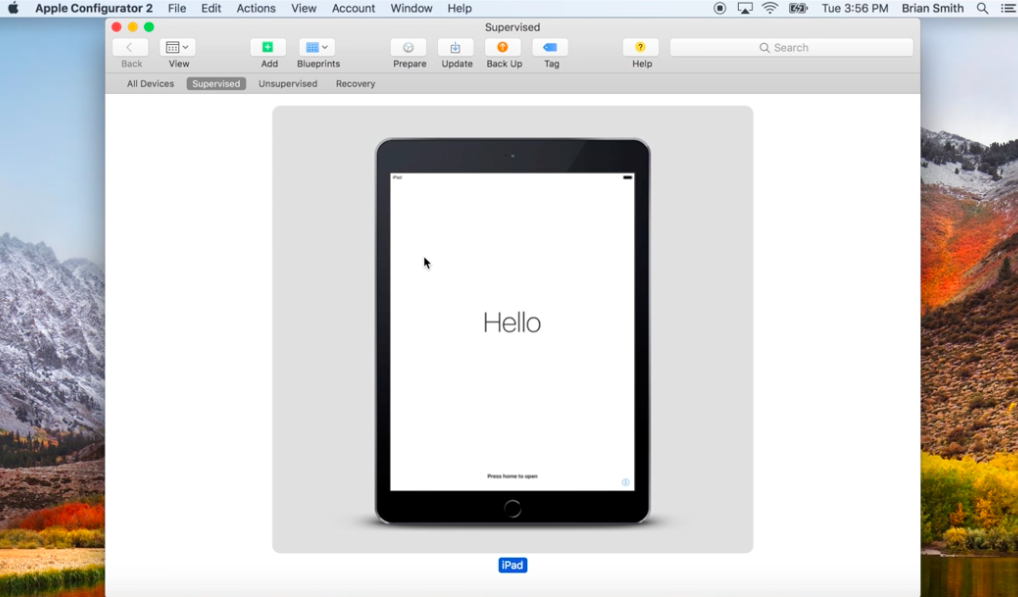
Step 4: Apply Blueprint to iPad or iPhone
- Select the device from the Apple Configuration window.
- Right-click on the device, select Apply > choose the required Blueprint.
- Click Apply.

Supervising using Apple Device Enrollment Program (DEP)
The Device Enrollment Program (DEP) is one of the deployment programs by Apple. DEP helps deploying devices in bulk by automatically applying settings and configurations upon the initial device start up, making it ready to be used right out of the box . Over-the-air supervision of iOS devices is possible only if these devices are enrolled in DEP. DEP requires an MDM to Supervise it remotely.
You will have to enroll your organization in DEP to access the program.
Configuring Device Enrollment Program (DEP) in Hexnode UEM
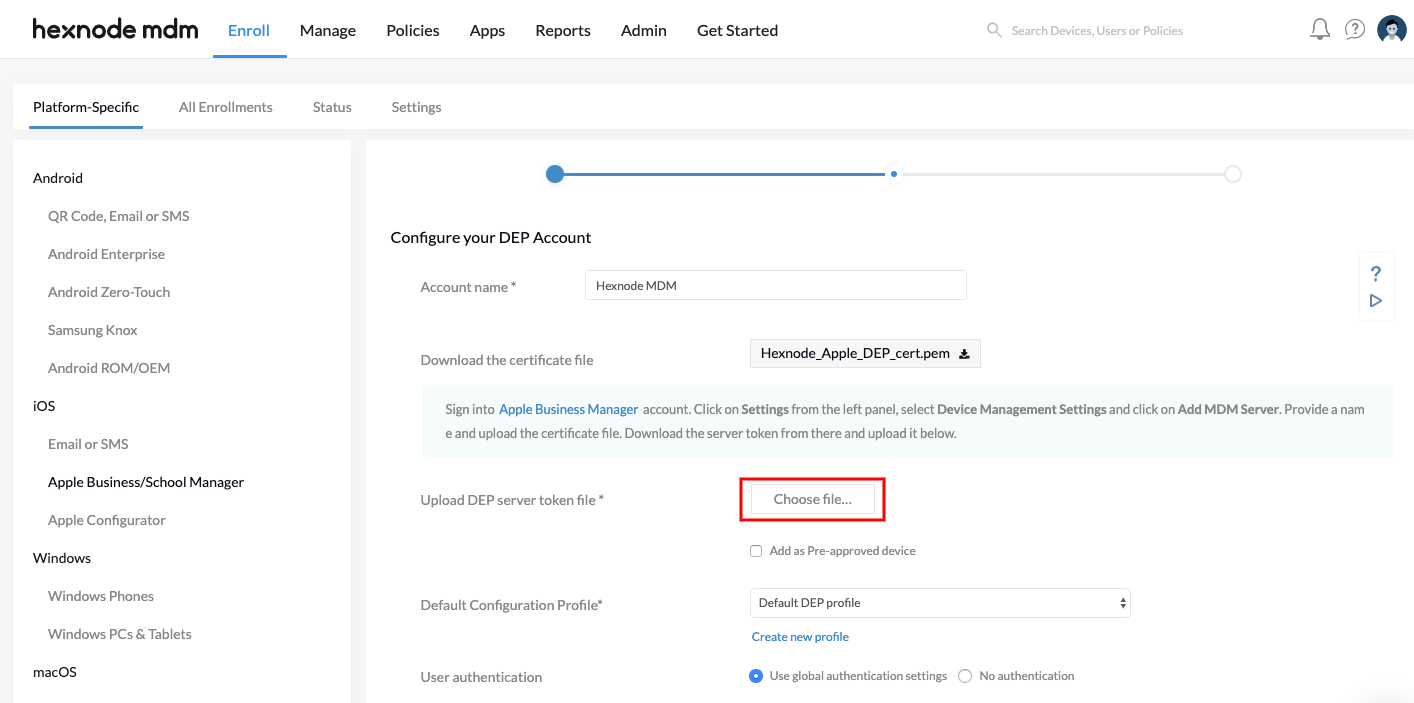
- Go to Enroll > Platform-Specific > iOS > Apple Business/School Manager.
- Click on Configure DEP Account.
- Create a DEP account and download the certificate file.
- Go to Apple Business Manager Page and sign in to your account.
- Verify your identity and enter the verification code.
- Navigate to Settings > Organization Settings > Device Management Settings and click on Add MDM Server.
- Give the MDM Server Name.
- Upload the Certificate file you downloaded in Step 3.
- Click on Save and then select Download Token(from your server) to download the Server Token.

- Go back to the MDM DEP settings page and upload the Server Token you have just downloaded.
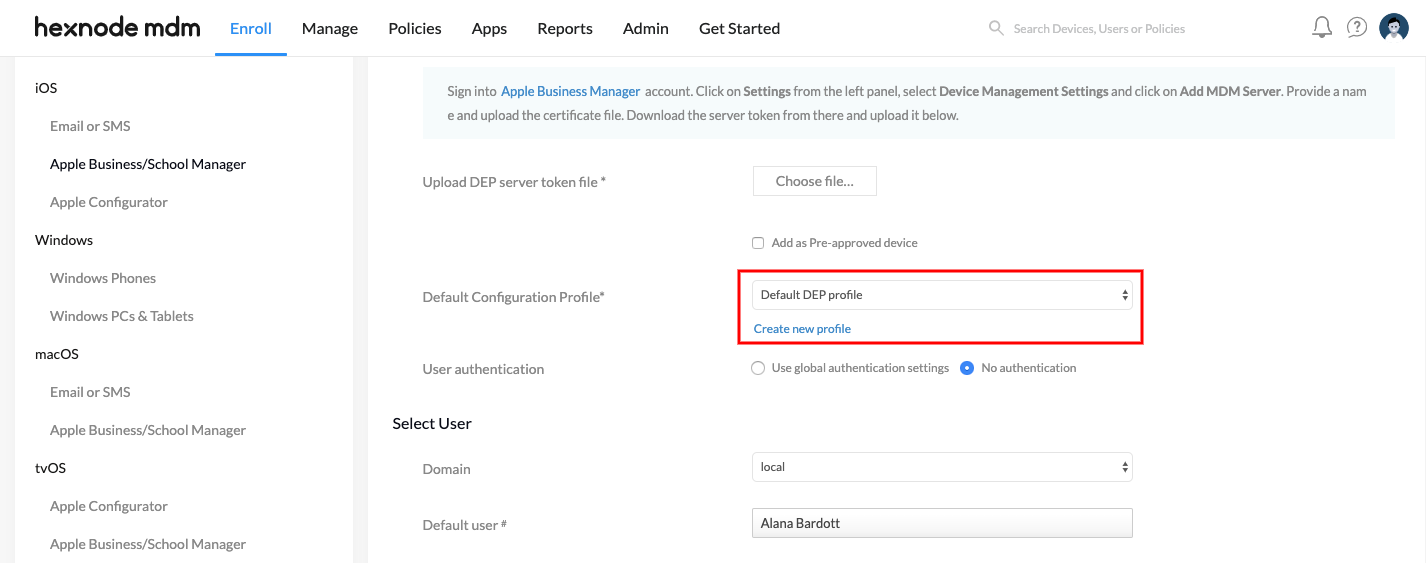
- You can choose or ignore the settings to add Pre-approved device or enforce User Authentication, here.
- Select a Default DEP profile at DEP Policy and click Save.


Assign device to the MDM server
Now that you have configured the DEP account, you can assign devices to the MDM server.
Step 1: Assign devices to the MDM server
Devices purchased directly from Apple or through an authorized reseller will be listed on the Apple Business Manager page under the Devices tab. They will be assigned to an MDM server automatically as per the Default device assignment settings in Settings > Device Management Settings. To re-assign a device to the configured DEP account:
- Go to Apple Business Manager and sign in to your account.
- Navigate to Devices.
- Choose a device and click on Edit Device Management button.
- Change the device management for the selected device by choosing an MDM server to be assigned.


Step 2: Supervise
The DEP configuration profile available in the Hexnode MDM console helps to enable supervision on Apple devices.
- After you have assigned the devices to the MDM server in the above step, initiate a sync for the DEP account from the Hexnode MDM portal.
- Go to Enroll > Platform-Specific > iOS > Apple Business/School Manager > Sync with DEP. The devices added to the MDM server gets imported to the Hexnode MDM console.
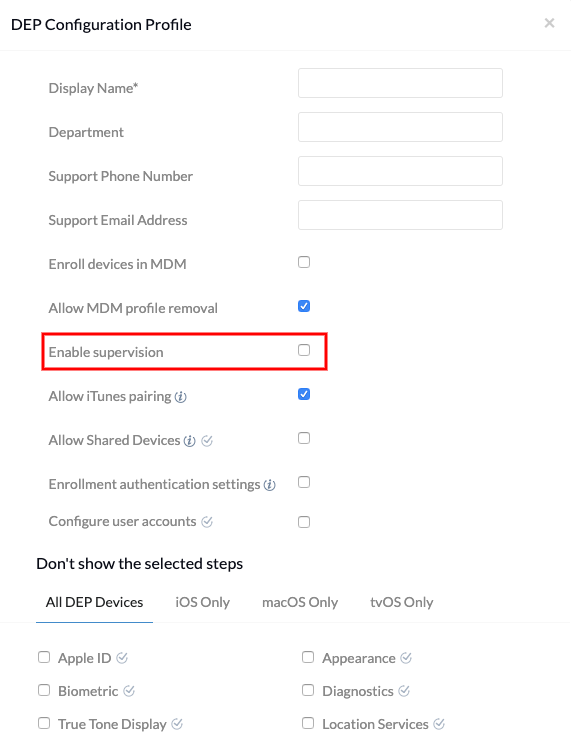
- Navigate to DEP Configuration Profiles. Edit the Default DEP profile by selecting it or create a new configuration profile by clicking on Configure DEP profile.
- Select the option Enable supervision. Click Save.
Apart from the option to enable supervision, the configuration profile also contains other configuration parameters that help customize the DEP enrolled devices.
- Display name: Any name that is used to distinguish this DEP policy from other DEP policies.
- Department: Used to mention a group.
- Support Phone Number: A phone number provided to the users in case they have any doubts regarding DEP enrollment.
- Support Email Address: An email address for the users to request support during setup.
- Enroll devices in MDM: Enabling the option prevents the users from skipping the Remote Management/Hexnode UEM enrollment wizard during the device setup. It ensures that the users enroll the devices in MDM.
- Allow MDM profile removal: Disabling the option makes the MDM profile non-removable, preventing the user from removing it manually from the device settings.
- Enable supervision: Check this to make the device supervised upon enrollment.
- Allow iTunes pairing: Check this option to allow users to sync their devices with iTunes. Disabling this option will prevent every iTunes related actions. To re-enable it, the device will have to be wiped and re-enrolled.
- Allow Shared Devices: Check this box to enable multiple users to share Apple School Manager deployed devices.
- Enable Hexnode UI for Authentication: If disabled, the device management has to be set up from Apple’s default Remote Management set up wizard. If enabled, users will be redirected to the Hexnode’s default enrollment window. Users can read and agree to the Hexnode EULA terms from here before proceeding with the enrollment. This feature is supported on iOS 13+ and macOS 10.15 or later devices.
- If Enforce Authentication is enabled under Admin > Enrollment > Authentication Modes, then users will have to authenticate with their local or directory credentials to add the device in Hexnode. If No Authentication is selected, users can directly move to the next set up wizard without proving their entitlements.
- Enrollment authentication settings: Choose the authentication method to be used for enrollment.
You can have a customized set up experience for your DEP devices upon activation with the following options. Check the boxes corresponding to steps that you want to avoid during the iOS devices’ setup.

All DEP Devices
| Set Up Assistant Options | Supported versions | Description |
|---|---|---|
| Apple ID | iOS 7.0+ | Skip Apple ID setup. |
| Biometric | iOS 8.1+ | Skip biometric setup. |
| True Tone Display | iOS 9.3.2+ | Skip True Tone Display pane. |
| Apple Pay | iOS 8.1+ | Skip Apple Pay setup. |
| Restore | iOS 7.0+ | Disable restoring from backup. |
| ScreenTime | iOS 12.0+ | Skip the Screen Time pane. |
| Appearance | iOS 13.0+ | Skip the Choose Your Look window. |
| Diagnostics | iOS 7.0+ | Skip sending diagnostic information to Apple. |
| Location Services | iOS 7.0+ | Skip setting up Location Services. |
| Privacy | iOS 11.3+ | Skips the privacy pane. |
| Siri | iOS 7.0+ | Disable users from configuring Siri. |
| Terms and Conditions | iOS 7.0+ | Hide terms and conditions from the user. |
iOS only
| Set Up Assistant Options | Supported versions | Description |
|---|---|---|
| Move from Android | iOS 9.0+ | Remove Move from Android option from the Restore pane. |
| Keyboard | iOS 11.0+ | Skip the Keyboard pane. |
| Watch Migration | iOS 11.0+ | Skip the screen for watch migration. |
| iMessage and FaceTime | iOS 12.0+ | Skip the iMessage and FaceTime screen. |
| Passcode | iOS 7.0+ | Hides and disables the passcode pane. |
| SIM Setup | iOS 12.0+ | Skip the add cellular plan pane. |
| Onboarding | iOS 11.0+ | Skip on-boarding informational screens. |
| Software Update | iOS 12.0+ | Skip the mandatory software update screen. |
| Home Button Sensitivity | iOS 10.0+ | Skip the Home Button screen. |
| Device to Device Migration | iOS 13.0+ | Skip Device to Device Migration pane. |
| Zoom | iOS 8.3+ | Skip the Zoom pane which shows larger text and controls. |
| Welcome/Get Started | iOS 13.0+ | Skip the Get Started pane. |
Once the DEP enrolled device is turned on, it initiates the device activation process. During this process, iOS activation servers provide the device with the link of MDM server. This link is that provided by the organization through MDM server DEP portal.
Renew DEP Server Token
The DEP server token is valid for a period of one year. Apple stores the public key permanently, so there is no need to upload a new public key to Apple DEP website. Just click on Generate New Token, and a new server token is created with the same public key.
What happens at the device end?

On opening the Settings app, the user will see a banner that shows your organization name along with a link that opens up a manual on Device Supervision.
